
 Attempting to organize chess playdates for my five year old showed me that parents struggle to effectively introduce their kids to the game. Many won’t even try it, while others undermine their kids by “letting them win“.
So I delved into my high school chess club experience, remembering the approach of one visiting coach in particular, and developed this chess teaching method, primarily for my child’s friends’ families to use.
It turns out that this method can be used by “teachers” of any level of chess experience and ability to introduce complete novices to the game. This super-simple method can also be used to consolidate skills and re-build confidence of players who are feeling anxious about their ability. All you need to start is a regulation chess set, the rules, two people and this method.
You can download the method as a pdf here: How to Teach Chess_v2 or click the “Continue reading” link to see it on the web.
How to Teach Chess
by Paula Rizzuto (Dec 2012)
This is a simple method for layering chess knowledge into a brain.
This method requires 2 people. I refer to them as “teacher”and “learner”, but the method can be just as useful for two beginners teaching each other, or two experienced players who want to break down the game to solidify their grasp of its elements.
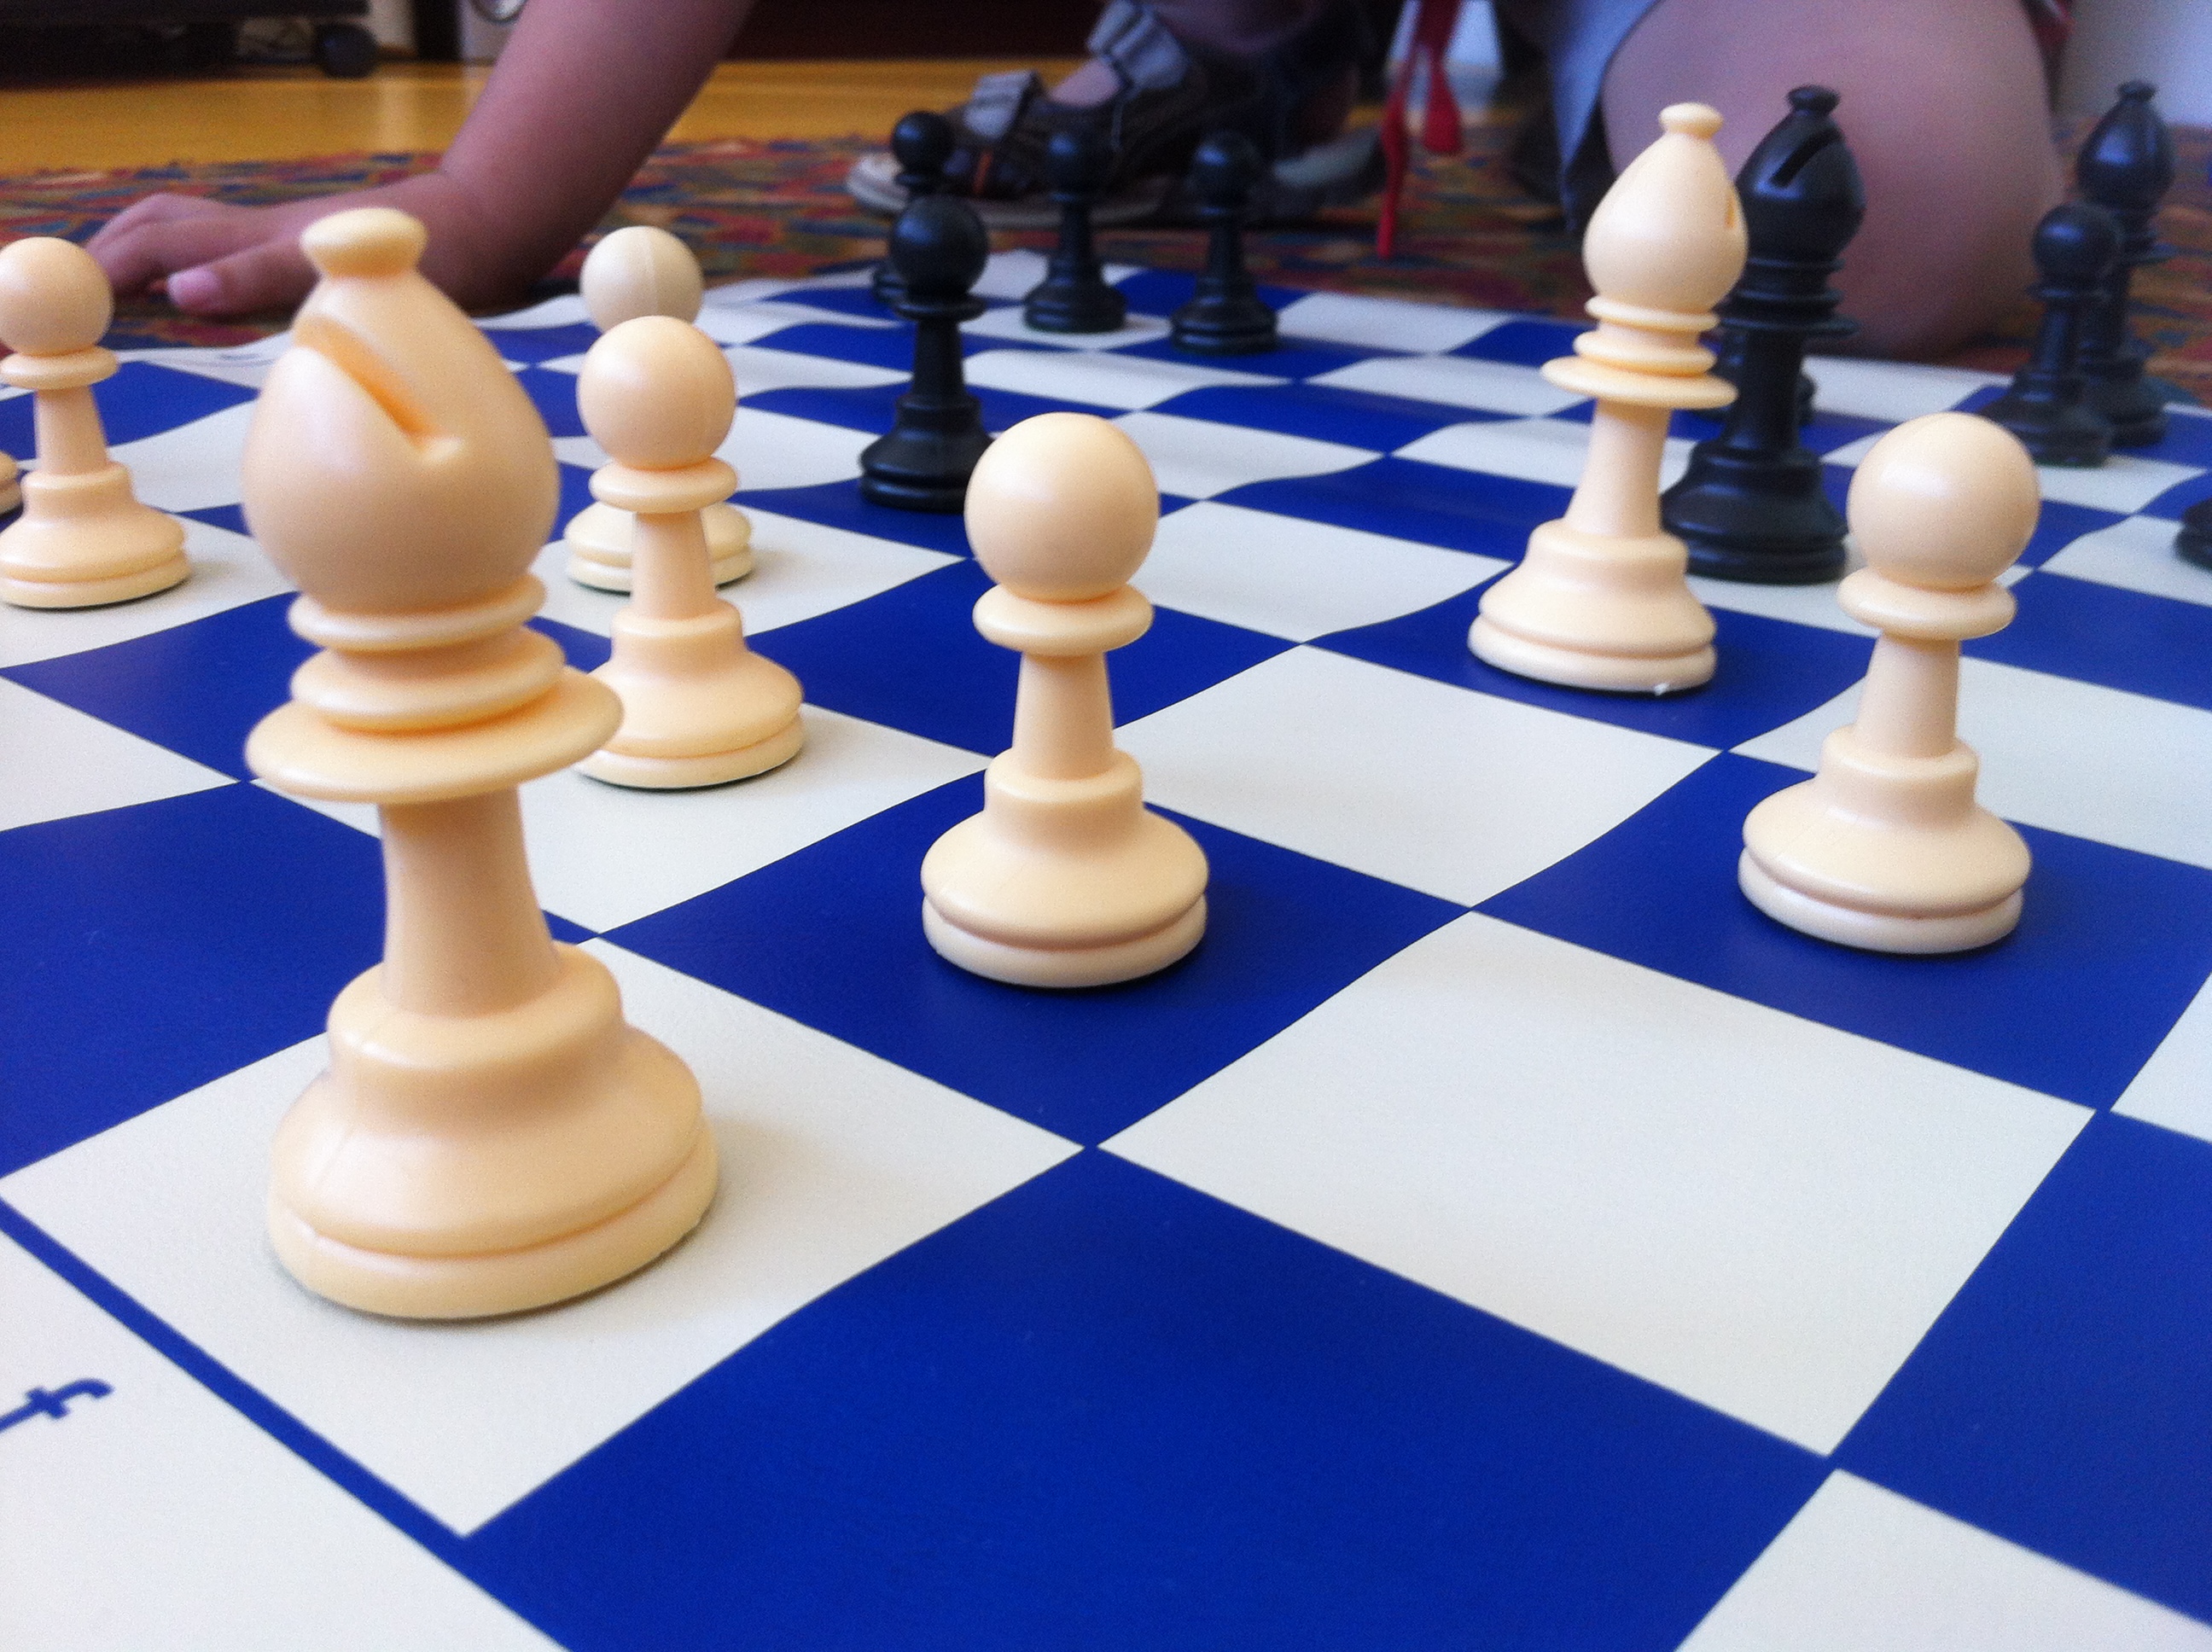
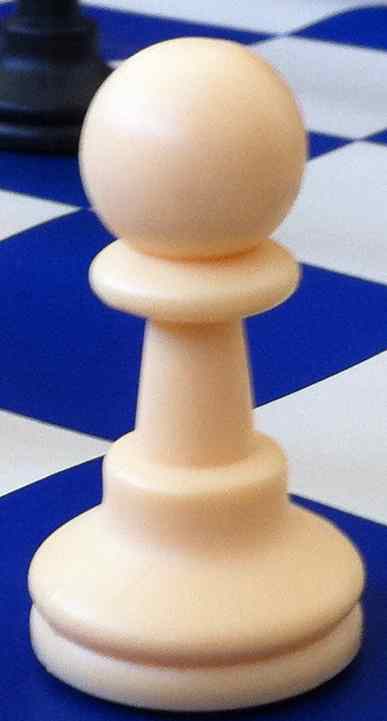
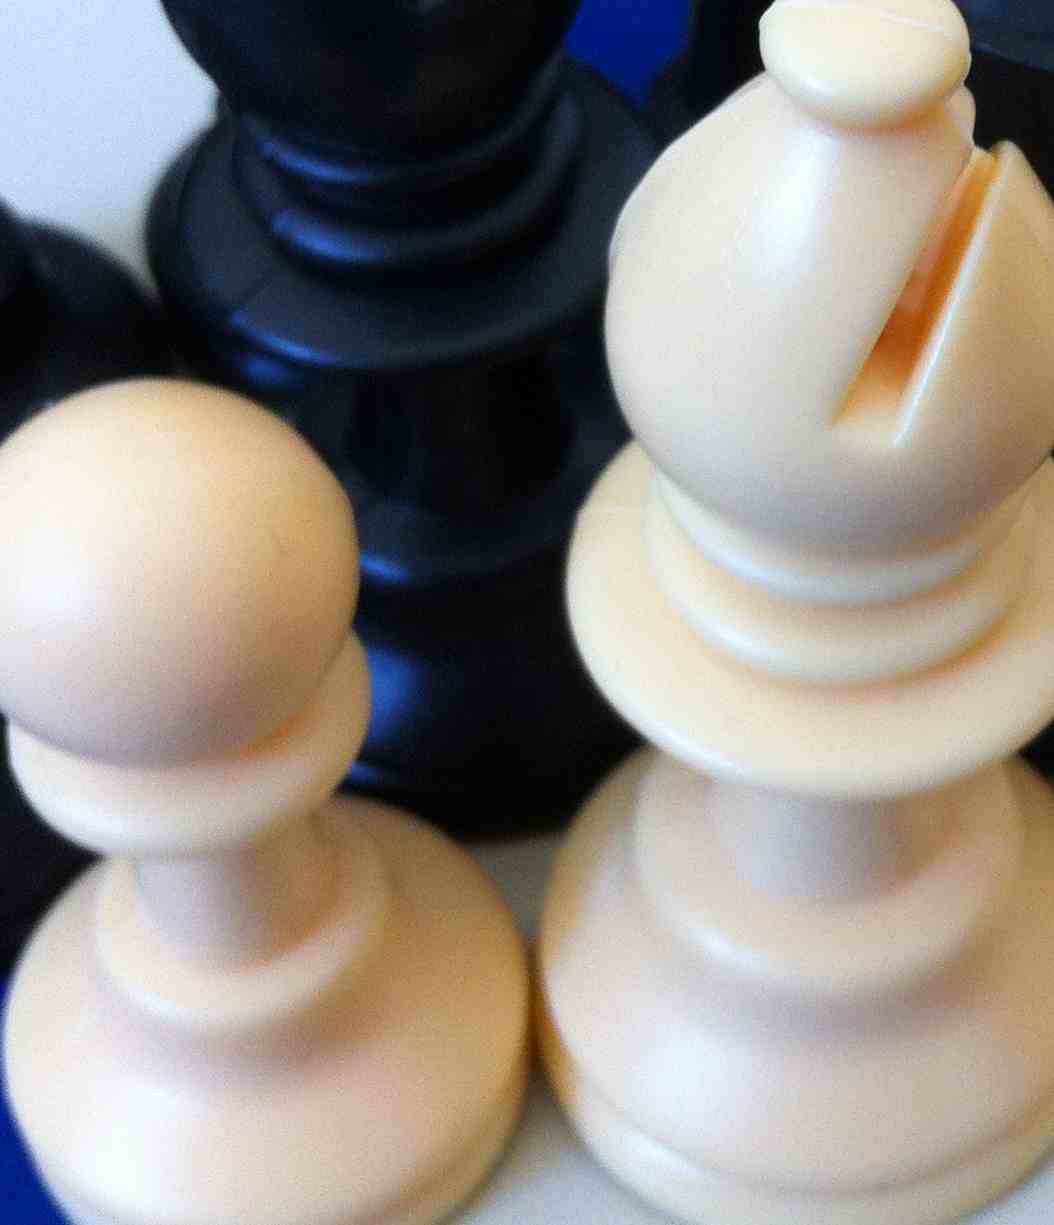
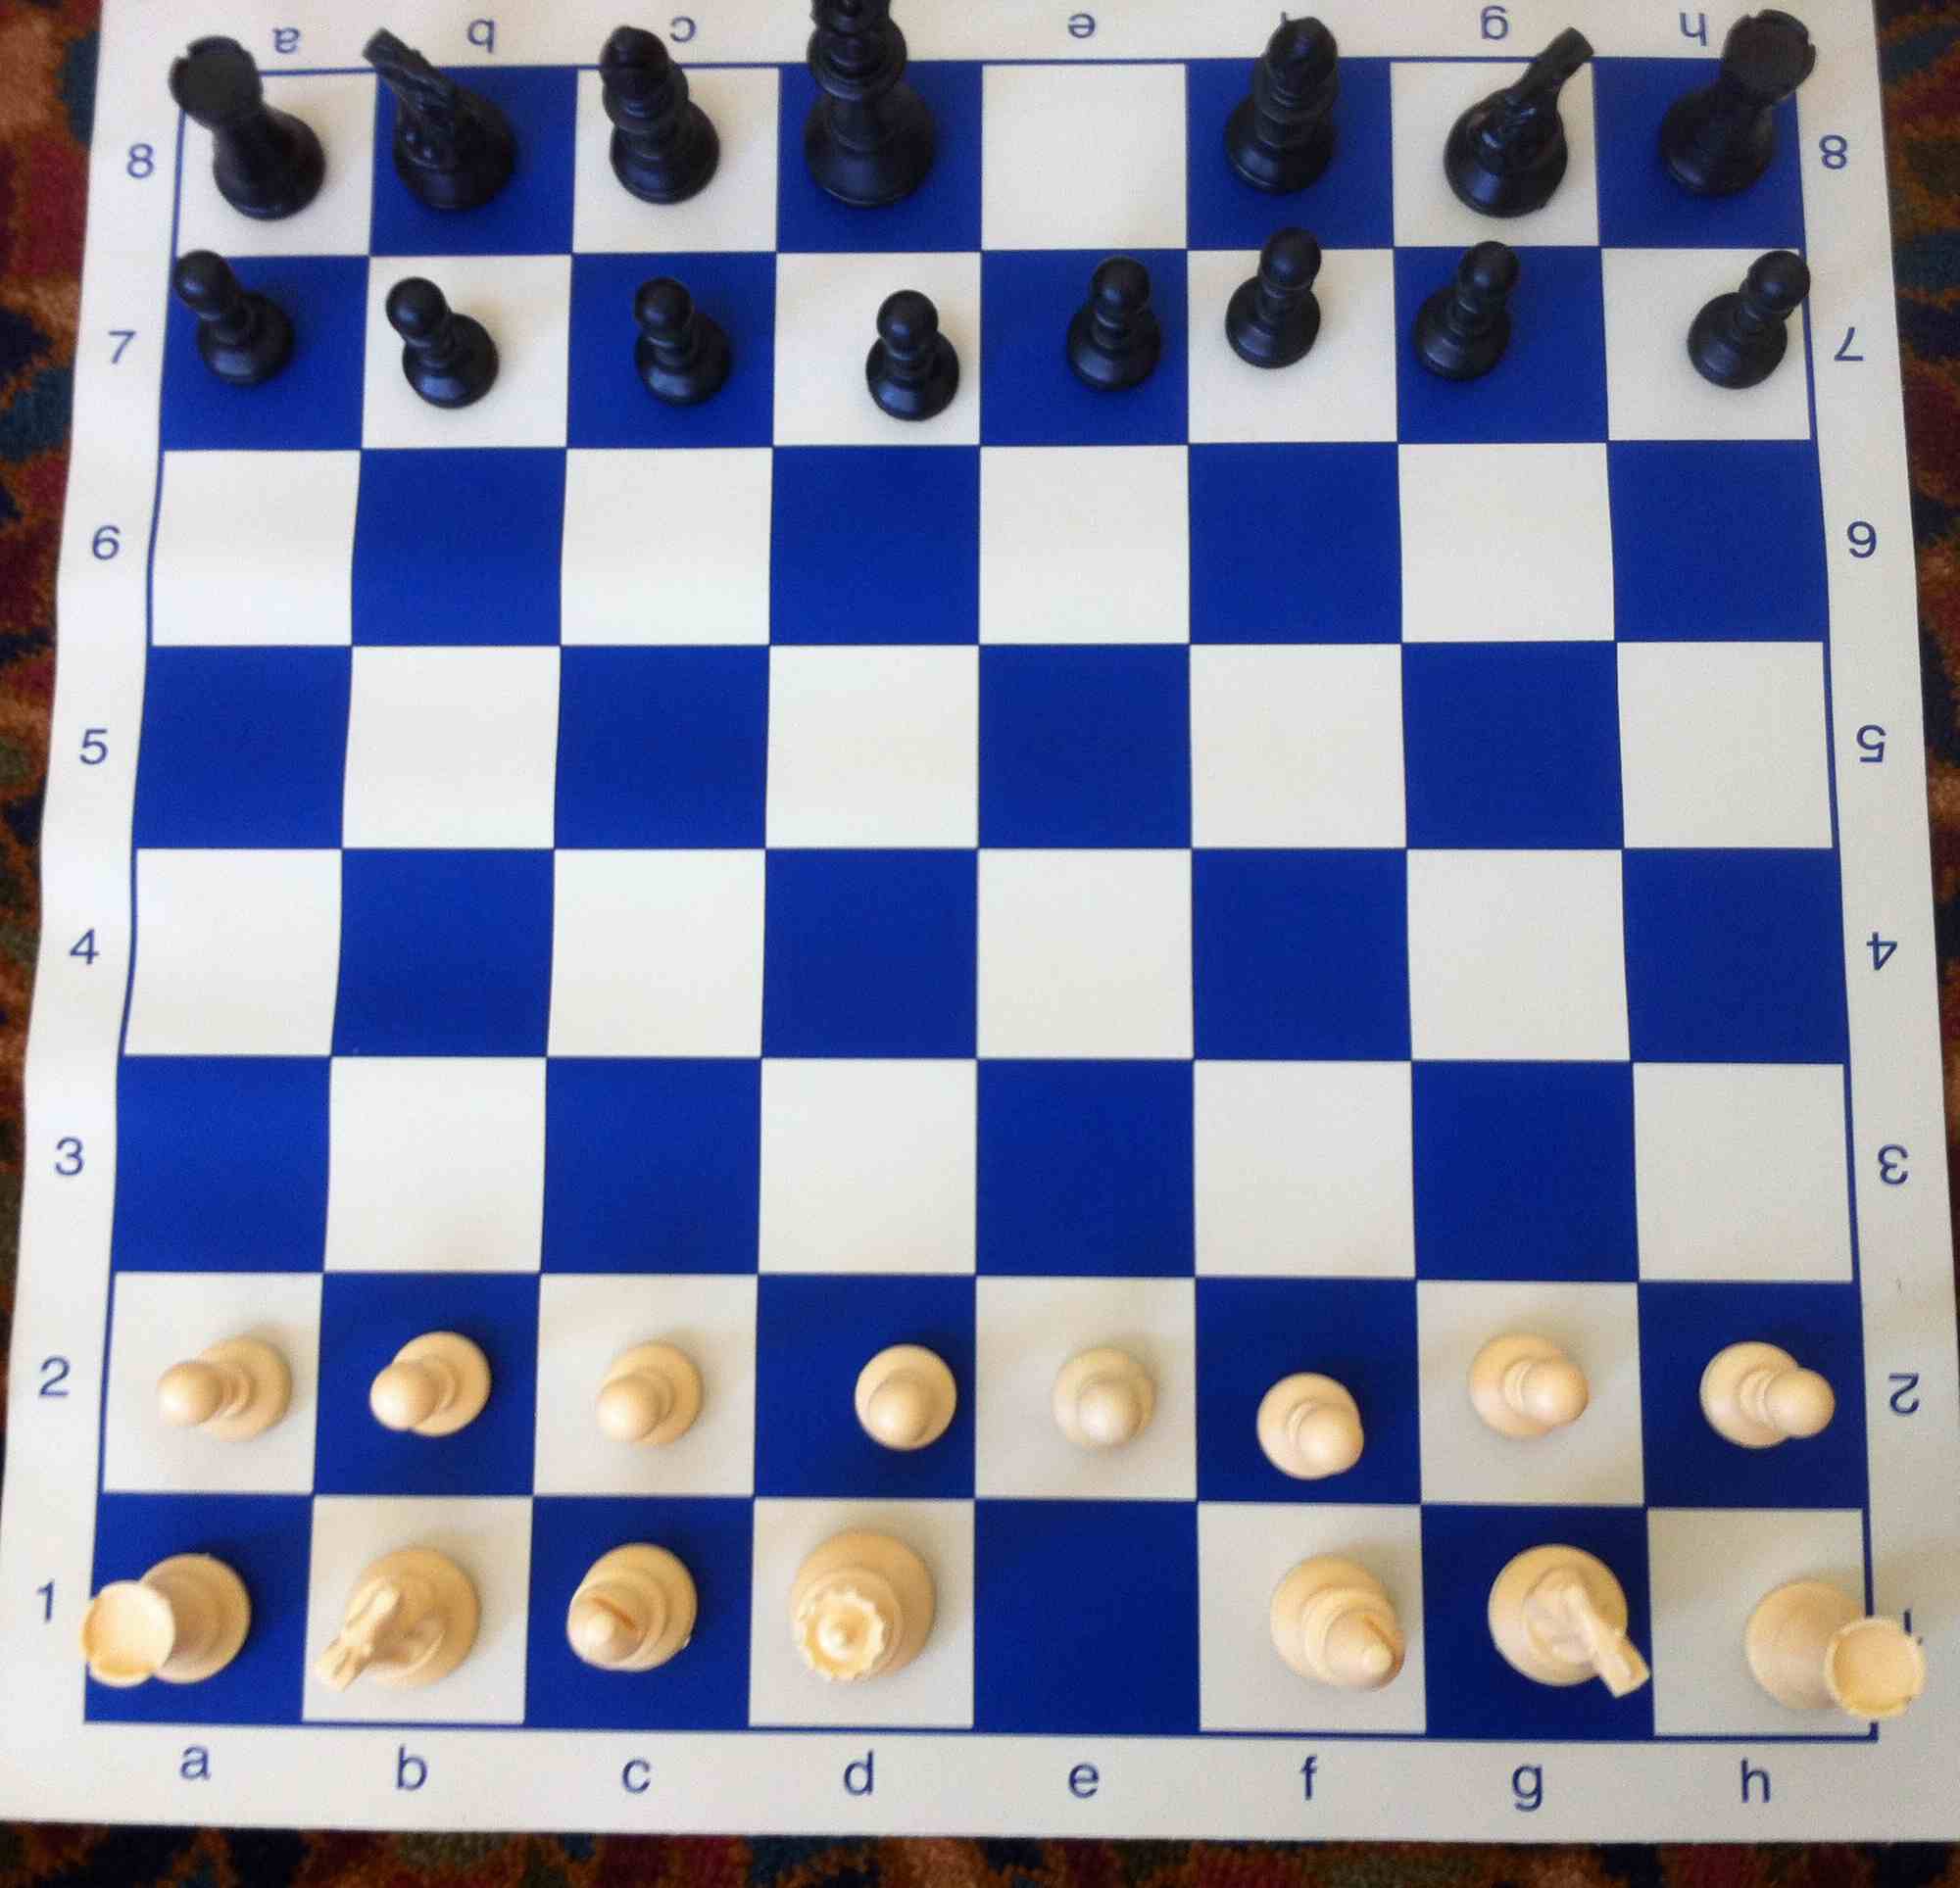
Use a regulation chess board. Regulation plastic pieces on a regulation vinyl mat are quite adequate. Cheap wooden chess sets are often too small, too light and frustrating to play with.
The “teacher” should know the rules of chess (or look them up).
The Teacher must:
a) stay tuned-in to their learner,
go at the learner’s pace, never rush or badger them
and make sure they are having fun
b) never make a deliberate mistake
The learner needs to build up knowledge through experience of pieces, moves, game patterns and consequences. Deliberate mistakes don’t make it fun, they are patronizing and seriously undermine the learning potential.
c) answer all questions
encourage the learner to ask you what you are plotting, and answer!
d) ask frequent questions
“are any of your pieces under threat?”
“is that piece protected?”
e) change sides with the learner on request
The learner needs to see several full games unfold. They do not need to steadfastly lose every game until they come up to speed with the teacher.
1. Start with just the pawns
Set up the board with all the pawns in place as they would be for a regular game of chess.
Explain all the pawn rules (white starts, how pawns move, how they take, the option to move two squares on the first move, en passant and queening). Make sure the learner has understood the rules before starting.
The object of the pawn game is to be the first player to get a pawn all the way to the other side.
Play the pawn game as many times as the learner wants to.
By the time you move on, the learner may be starting to grasp:
– useful patterns of pawns (defensive formations)
– the value of getting a pawn passed the centre line
– seeing a pattern of pieces exchange
– spotting a clear line to the back of the board
– not being distracted when victory is 3 moves away
2. Pawns & Bishops
Set up the board with the pawns and bishops in their normal places for a game of chess.
Explain how bishops move and take (diagonal, any number of squares, forward & backwards, no jumping).
The objective is still to be the first player to get a pawn all the way to the other side.
Play the pawns & bishop game as many times as the learner wants to.
By the time you move on, the learner may be starting to grasp things like:
– which pawns to move to let each bishop out
– patterns of pawns that can block a bishop
– pitfalls of putting a bishop past the centre line too early in the game
– colour-limitations of bishops (a black-squares bishop can’t get pieces on white squares)
– the difficulty of getting a bishop behind the pawns of an intelligent opponent
– the value of getting a bishop safely behind your opponent’s pawns

3. Pawns, Bishops & Rooks
Set up the board with the pawns, bishops and rooks (castles) in their normal places for a game of chess.
Explain how rooks move and take (straight, any number of squares, no jumping).
The objective is still to be the first player to get a pawn all the way to the other side.
Play the pawn, bishop & rook game as many times as the learner wants to.
By the time you move on, the learner may be starting to grasp things like:
– the difficulties & planning required to get a rook into play
– the power of getting a rook to the other side
– the value of holding a rook in reserve at the home side
– the difference between taking pieces and winning the game
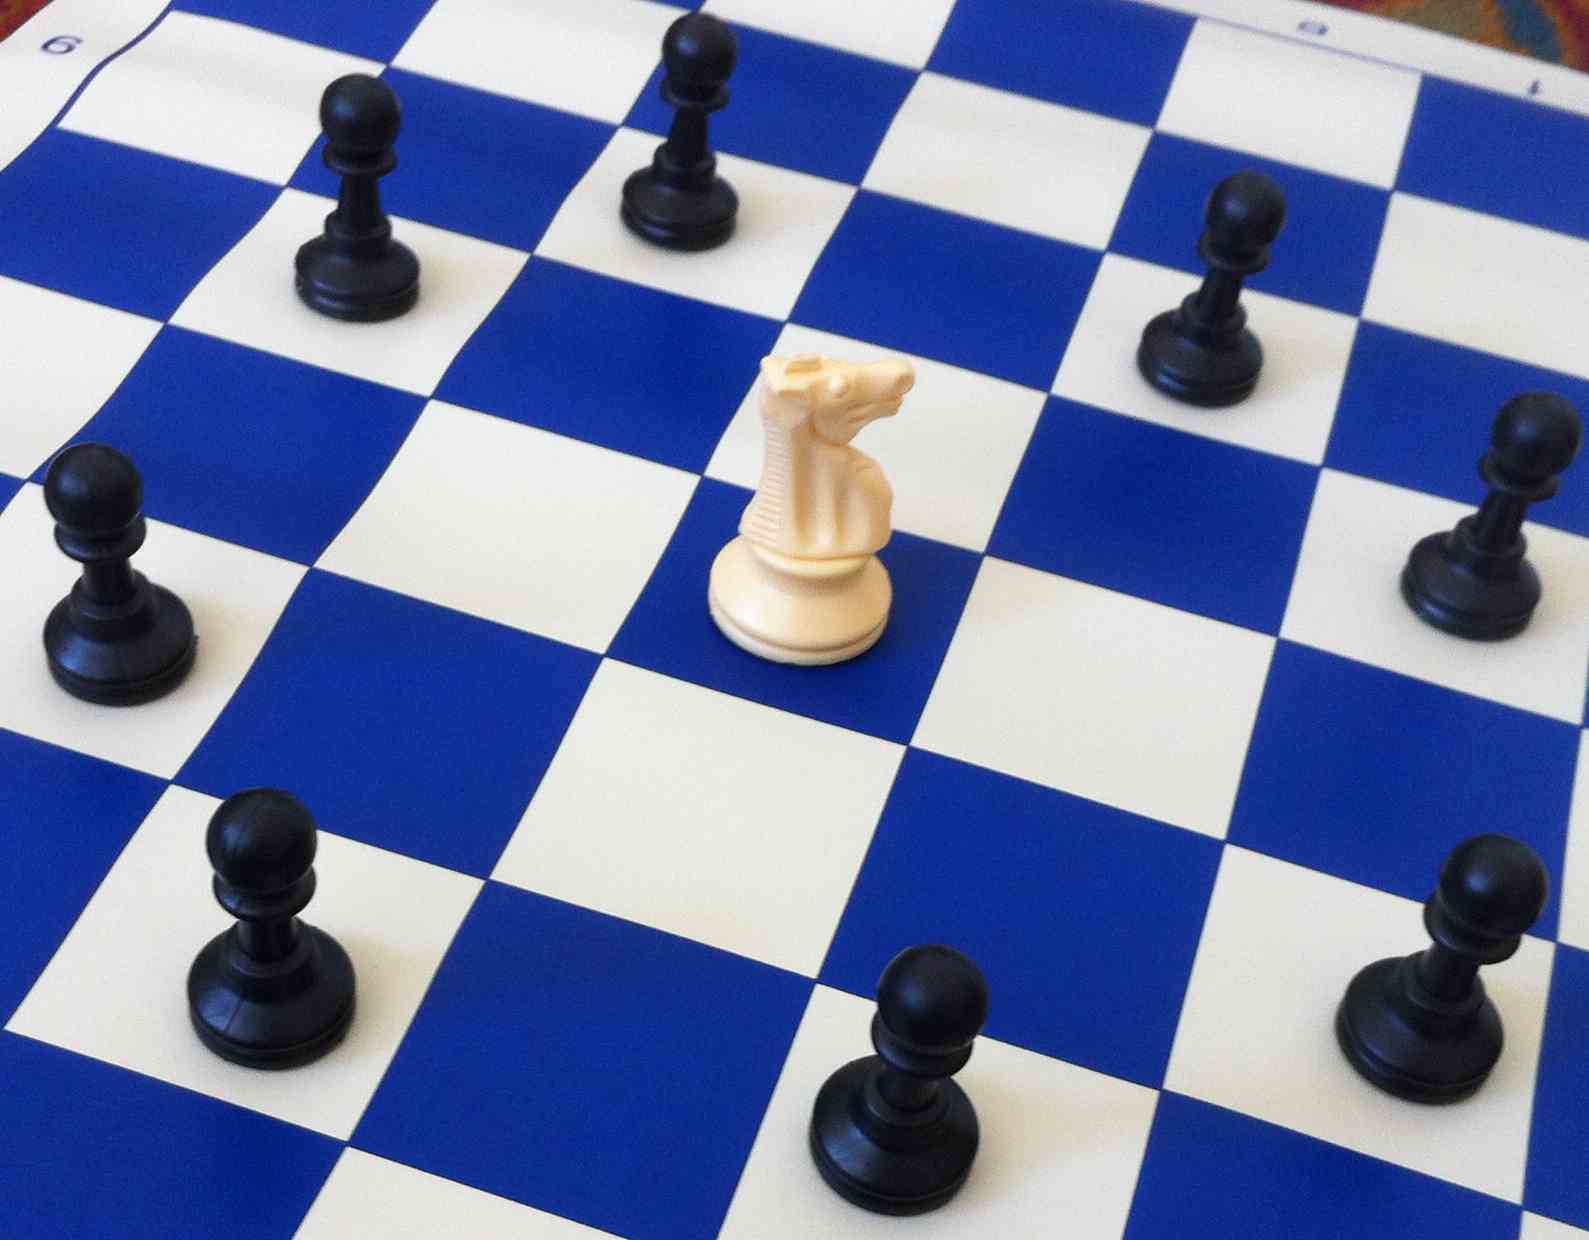
4. Introduce the Knights
Explain how knights move and take (jump 2+1)
Exercise 1: Put a knight near the middle of the board, and place the pawns of the other colour in the 8 possible places that the knight can move to. Ask the learner to repeat this exercise.
Exercise 2: The knight can move to any space on the board. Ask the learner to move the knight from one particular square on the board to another particular square (use markers) and count how many moves it took. Explore the shortest route. The close-in moves are of most interest.

5. Knights, Rooks, Bishops & Pawns
Set up the board with the pawns, bishops, rooks & knights in their normal places for a game of chess.
The objective is still to be the first player to get a pawn all the way to the other side.
Play the pawn, bishop, rook & knight game as many times as the learner wants to.
This level of game has a lot of complexity, but if you layered it on slowly, giving the learner a chance to build up the patterns in their mind, it should be pleasant and not daunting. The remarkable thing about these cut-down games is that they are all legitimate games of chess. The learner is not learning anything tangential – they are in fact learning and layering real chess patterns.
6. Queens, Knights, Rooks, Bishops & Pawns
Set up the board with the pawns, bishops, rooks, knights and queens in their normal places for a game of chess.
Explain how the queen moves and takes (straight, any direction, any number of squares, no jumping, etc).
The objective is still to be the first player to get a pawn all the way to the other side.
Play the pawn, bishop, rook, knight & queen game as many times as the learner wants to.
There is now very little the learner doesn’t already know about how to play a basic game of chess. Try not to have too many expectations about how the learner proceeds. It’s ok if they want to go back to the simpler stages. Don’t be surprised if they accidentally lose their queen first thing. It’s ok to play at this level a hundred times. Some learners will want to race straight through this stage into the full game. These are all fine. Be lead by the learner’s preferences.
7. Full Game of Chess
Set up all the pieces for a game of chess.
Explain all the king’s rules (moving, taking, check, the imperative of getting out of check, not moving into or through check, check mate, castling).
Advise the learner that it is normal to try and castle at the first opportunity.
Remind the learner that now you are playing a full game of chess, getting a pawn to the back line will only earn them a queen.
You are now playing chess.
Play, play and play some more.
Keep your sense of humour.
Keep talking through the things the learner should be looking for.
Keep swapping ends on request.
Go back & repeat earlier stages of this method as often as you like, to break things down and reinforce those layers.